How do I create a Student Group?
As a student, you can create your own Student Groups for study groups, discuss an assignment, etc. You can be part of more than one student group.
Note: If you cannot see the People tab in your course, or if you cannot see the Add Group button, your instructor has restricted this feature.
Open People
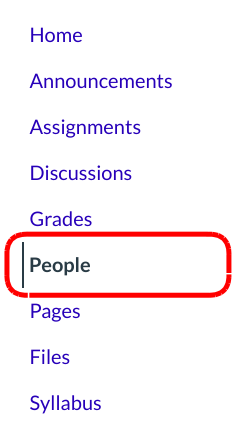
Click the People link.
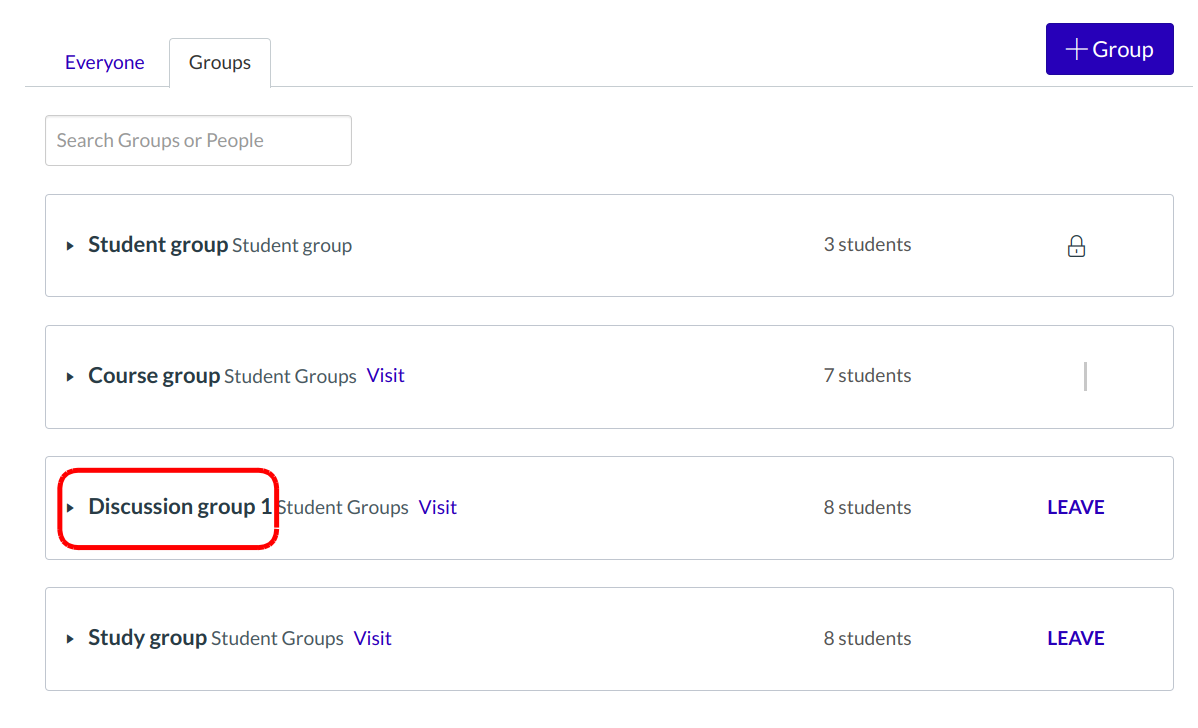
Open Groups
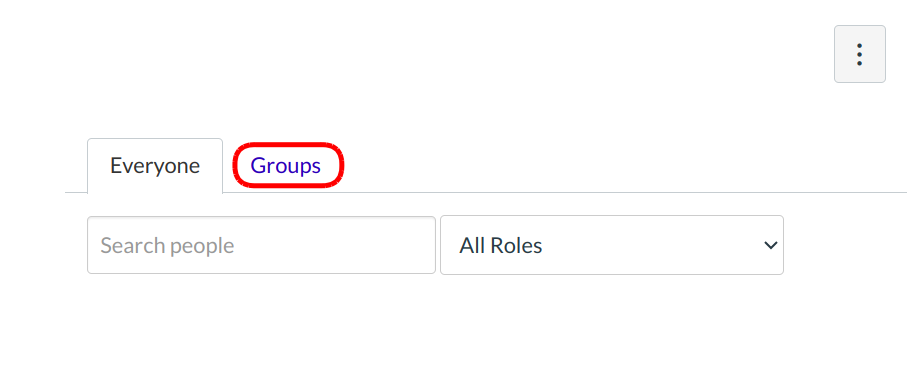
Click the Groups tab.
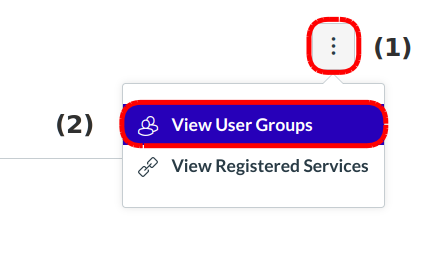
You can also access your User Groups through the Settings menu. Click the Options icon [1] and click the View User Groups link [2].
Add Group
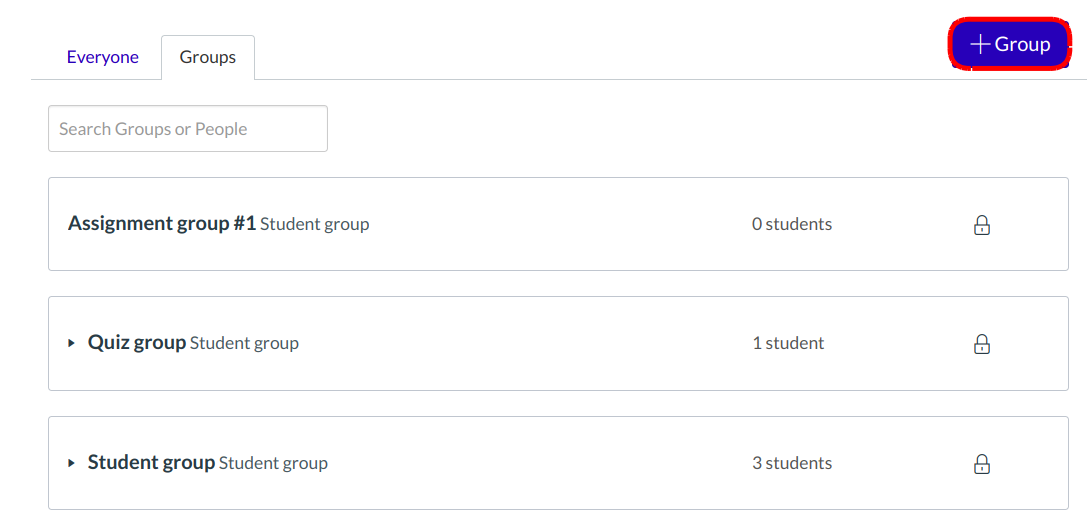
Click the Group button.
Choose Group Membership Option
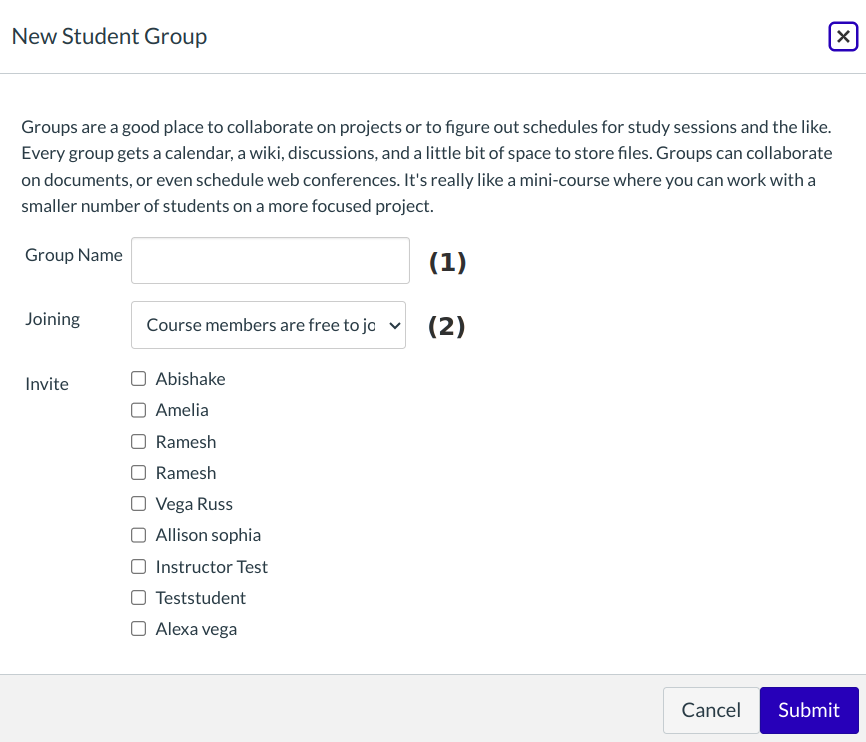
Name the group by typing in the group name field [1].
Determine who can join the group by clicking the Joining drop-down menu [2].
Course Members are Free to Join
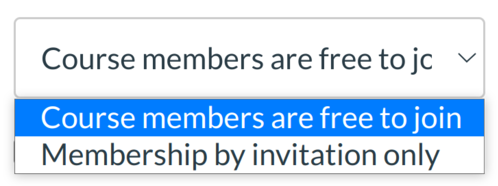
If you want anyone in the course to join your group, choose the Course members are free to join option.
Membership by Invitation Only
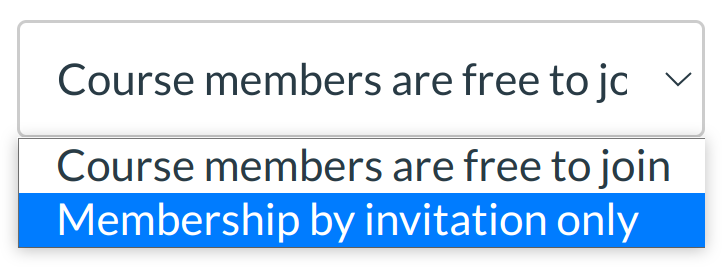
If you want to create a group with only specific people in your course, choose the Membership by invitation only option.
Invite Users
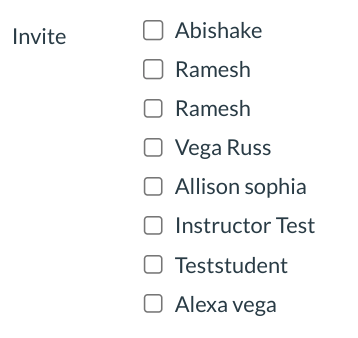
Invite users to join the group by clicking the checkbox next to each user's name.
Notes about invitations and group membership:
- If you set the group membership option so that anyone can join, but you choose to select only a few of the students to invite to the group, the remaining students who were not invited can see the group in the student group list and can join the student group later.
- If you set the group membership option as invitation only, students who were not invited will not be able to see the group in the student group list.
Save Group

Click the Submit button to create a new group.
View Group
The new group you created will now appear in your course groups.